I now have 3 weeks, almost four… running my new Snapmaker U1 four color (or filament) FDM printer.
Totally impressed with the printing results. Excellent quality using the Snapmaker Orca slicer. So far I have run the Snapmaker supplied PLA (It was included with the printer (4 – 500G spools)) and Overture PETG (4 colors).
Both materials have produced excellent quality prints. (Pictures below)
The exaggerated loops for the filament feed and electrical cord at the top of the printer, look a bit different than other FDM printers. In my honest opinion it is exactly the way those feeds SHOULD be run.
Most enclosed FDM printers (even the Snapmaker J1) try to jam filament into the extruder head with a very sharp turn in the PTFE tube at the print head. This is to reduce enclosure space at the top of the case, making the printer less tall. That tubing bend is a VERY HIGH filament feed friction point. I have actually had the filament cut a slot in both the J1’s PTFE tubes at the turn point and jamming the filament feed.
Large gradual feeds loops are the correct engineering design for all FDM filament feeds. The U1’s tubes are also extra large I.D. to reduce filament drag.
I have not purchased the huge top cover for the U1. I’ll do that if I decide I want to print High Temp filaments with the U1. I can live with the large top cover size.
The only minor criticism I have is the height of the front access door. Nothing to do with performance. It is just not possible to see the print surface and start of the print by looking through the front. I have to stand up, go to the printer and peer down from the open top. Not sure what the top enclosure may do to that view. Minor critique.
My next step (when I get there) is to do some Hueforge prints with the U1. I have experience with Hueforge prints using my Creality K2Plus. Should be an easy print task for the U1 and far less filament purge waste.
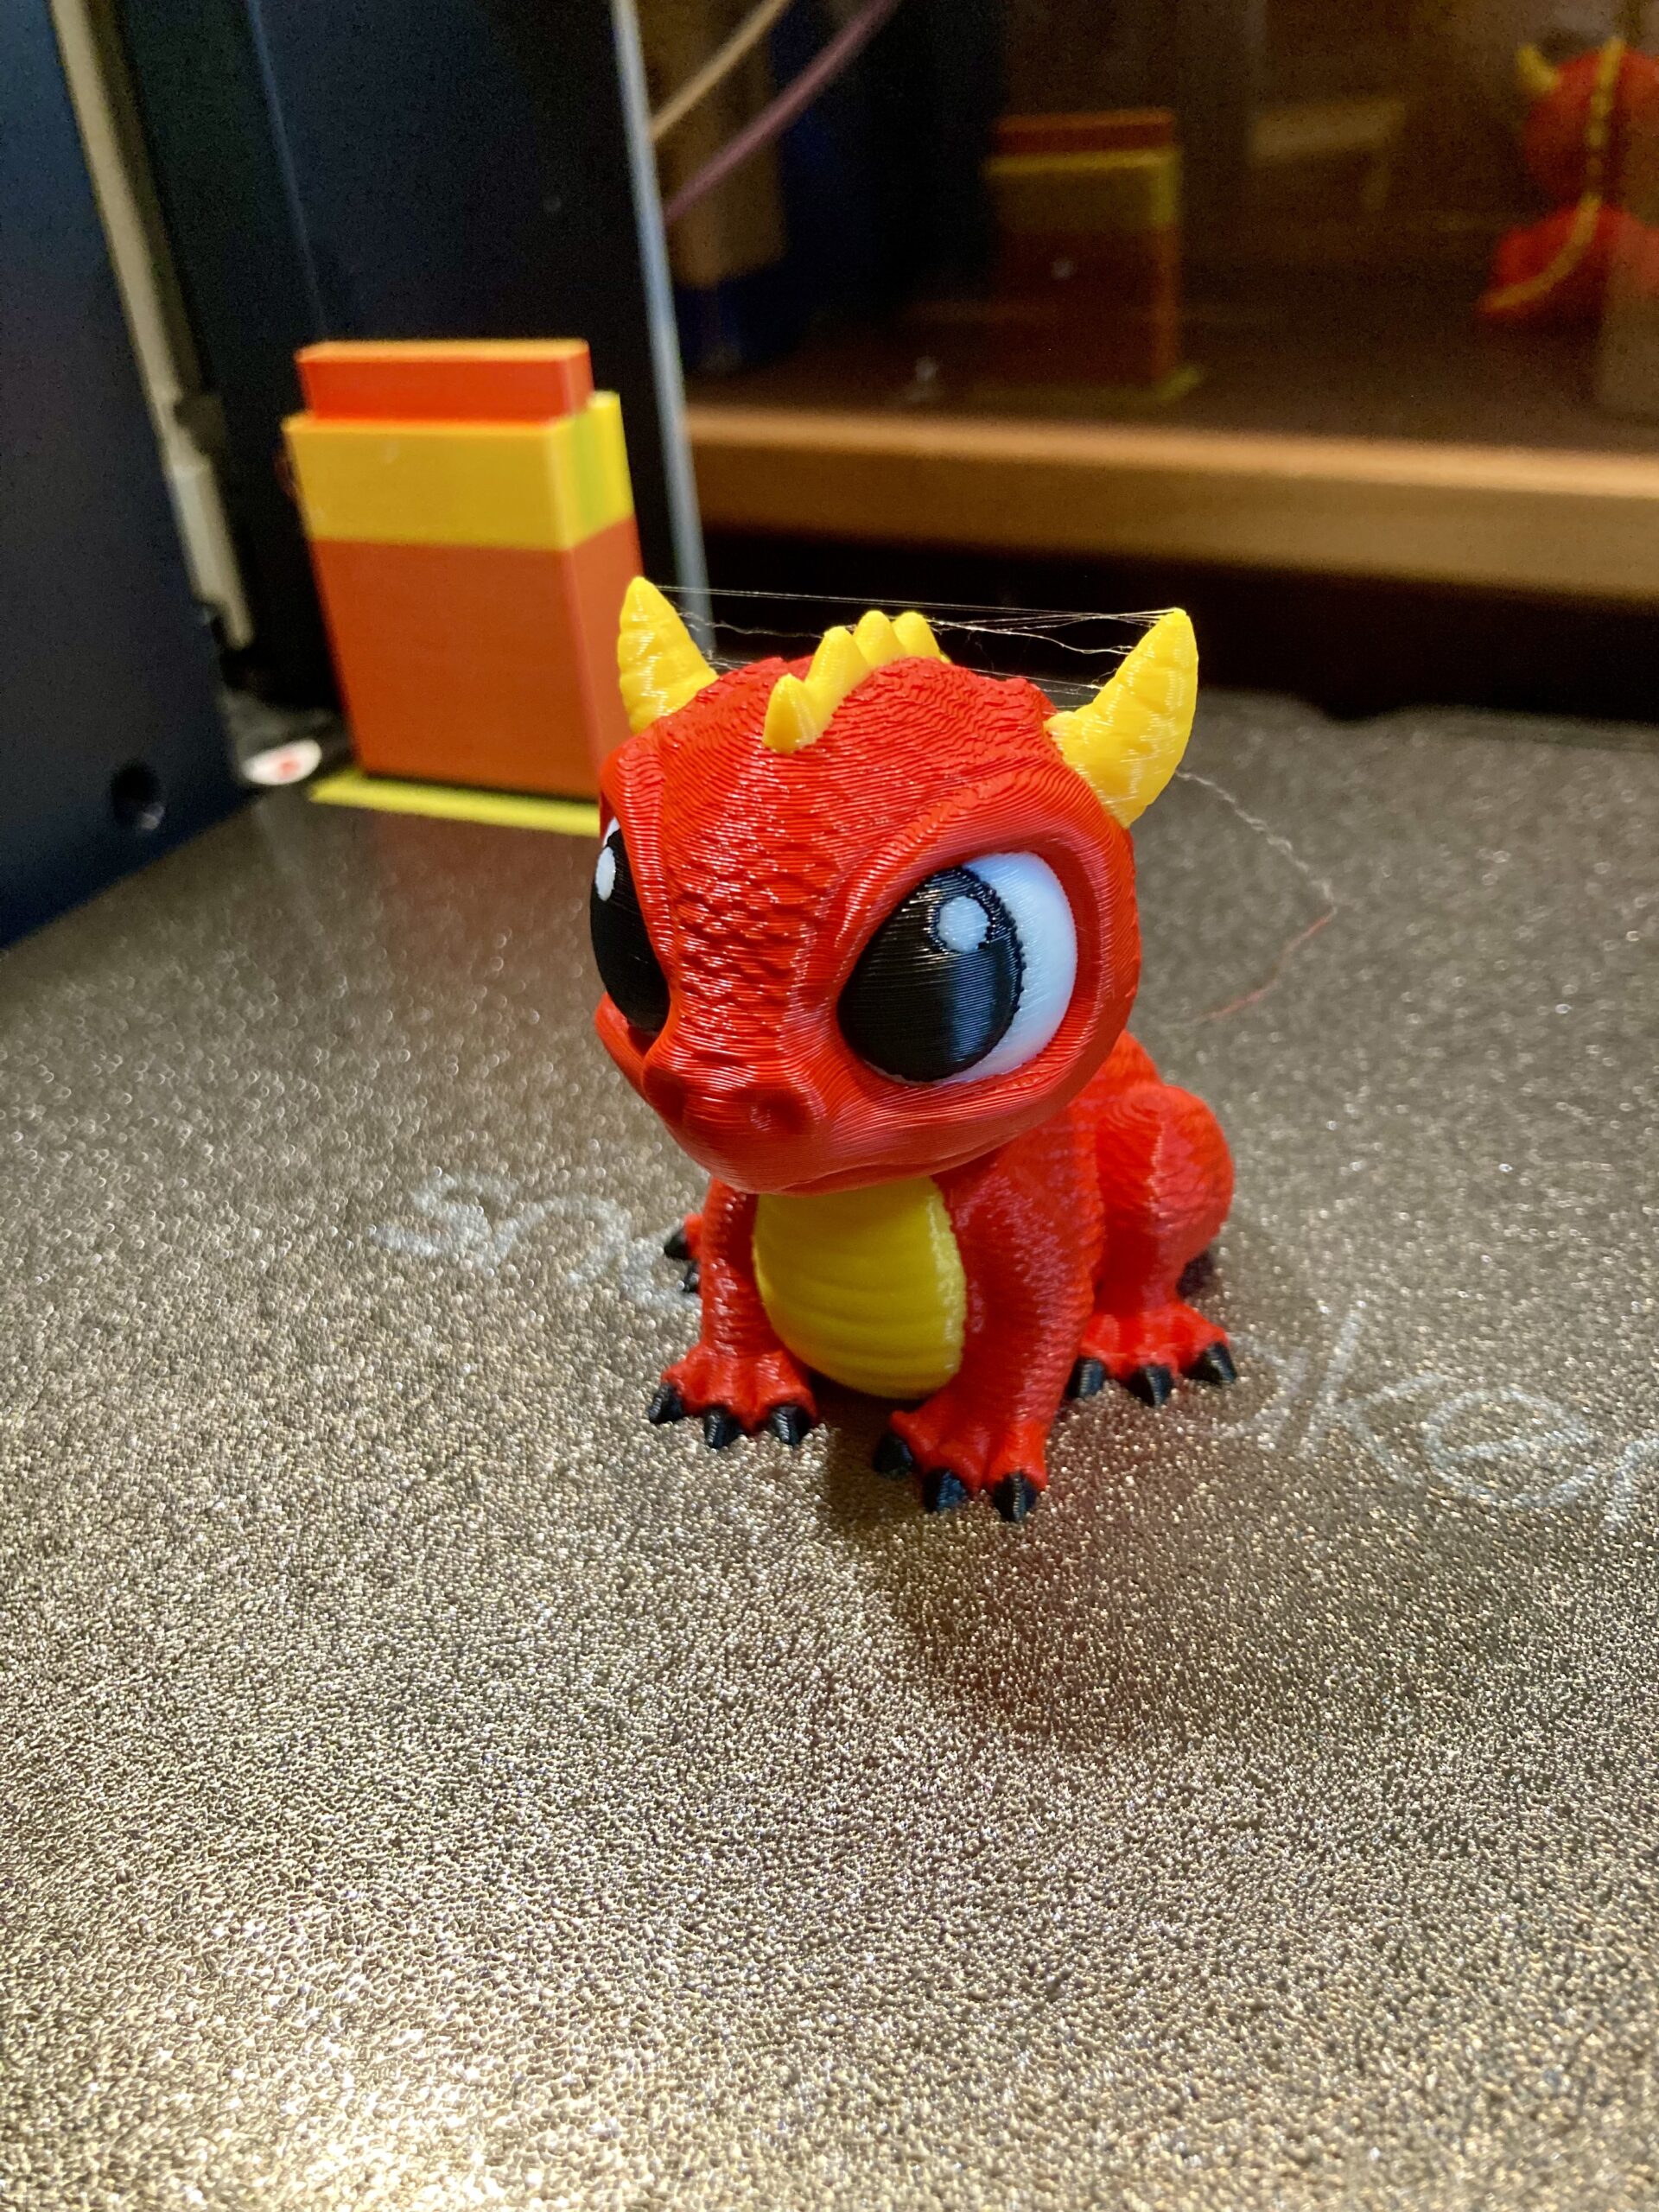
Here are some of the prints made with my U1:


Leave a Reply